Decorative Easter Chick with Felt & Liberty Fabrics

This simple to decoration would look lovely hanging from twigs in your home, or decorating a door wreath. Or perhaps as part of your Easter Egg hunt! A lovely make to give as a gift or make with children, which can become part of your Easter tradition. (To buy the items for this (except thread & stuffing), please see here.)

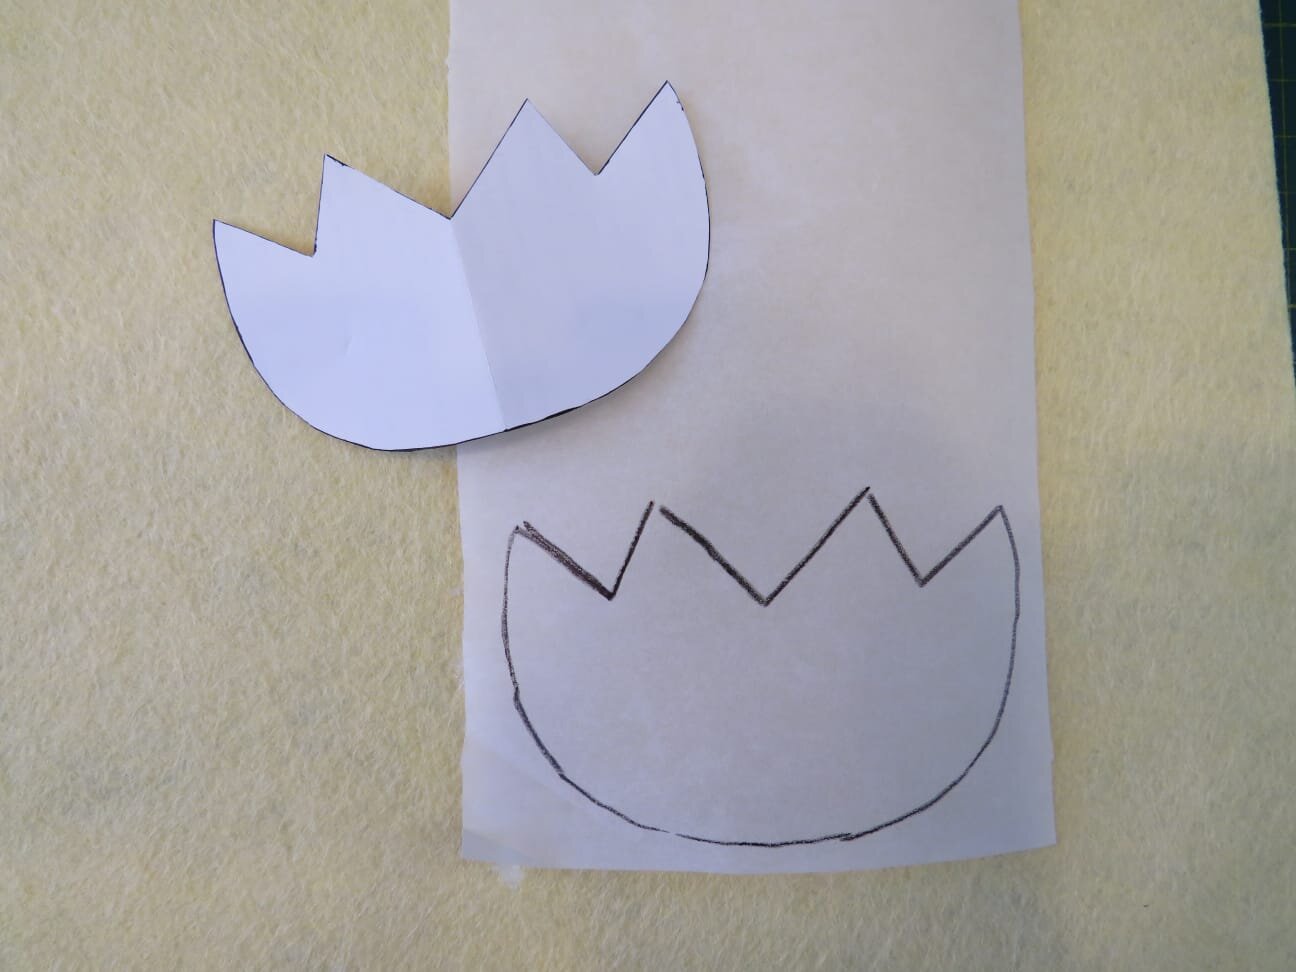
Create templates, cut out two, but then cut 'cracks' along the one template. The main body (with the face on) fits into a square 8.5cm x 8.5cm.)
Transfer the egg shell template on to the paper side of bondaweb. Don’t cut it out yet As it's a symmetrical pattern piece, there is no right or wrong way round.
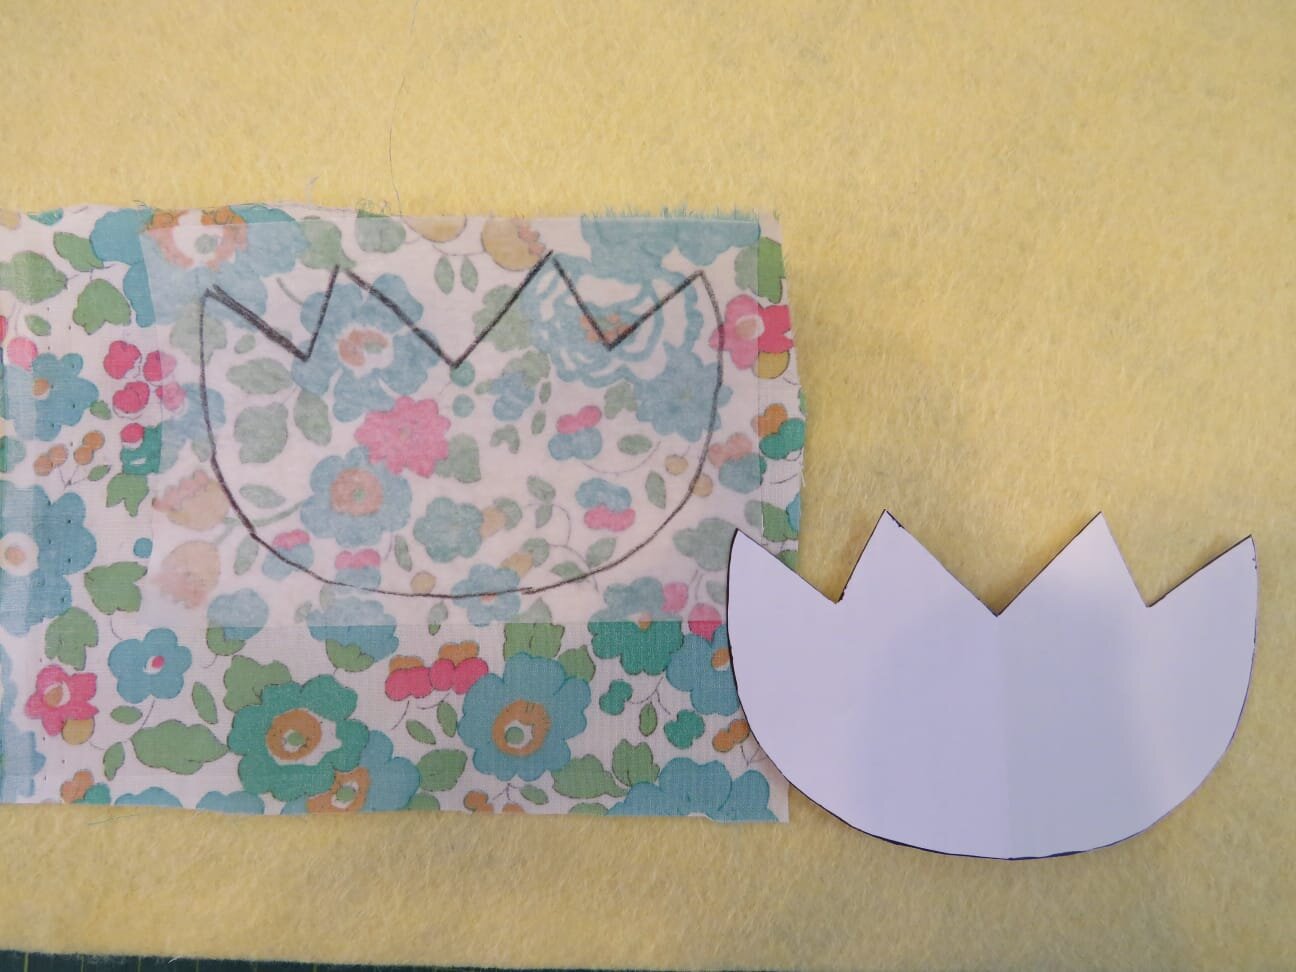
Adhere bondaweb to the reverse of your fabric.

Once cool, cut out your eggshell piece, remove the paper backing, and adhere to a piece of felt slightly bigger than your chick template. Stitch using freemotion machine embroidery, decorative handstitches or even just your sewing machines straight stitch.

Trace your chick’s body template, and add a seam allowance before cutting out. Place this egg shape face down on to another piece of felt, slightly bigger than your egg shape, and stitch around the egg, leaving a gap big enough to turn everything the right way round.
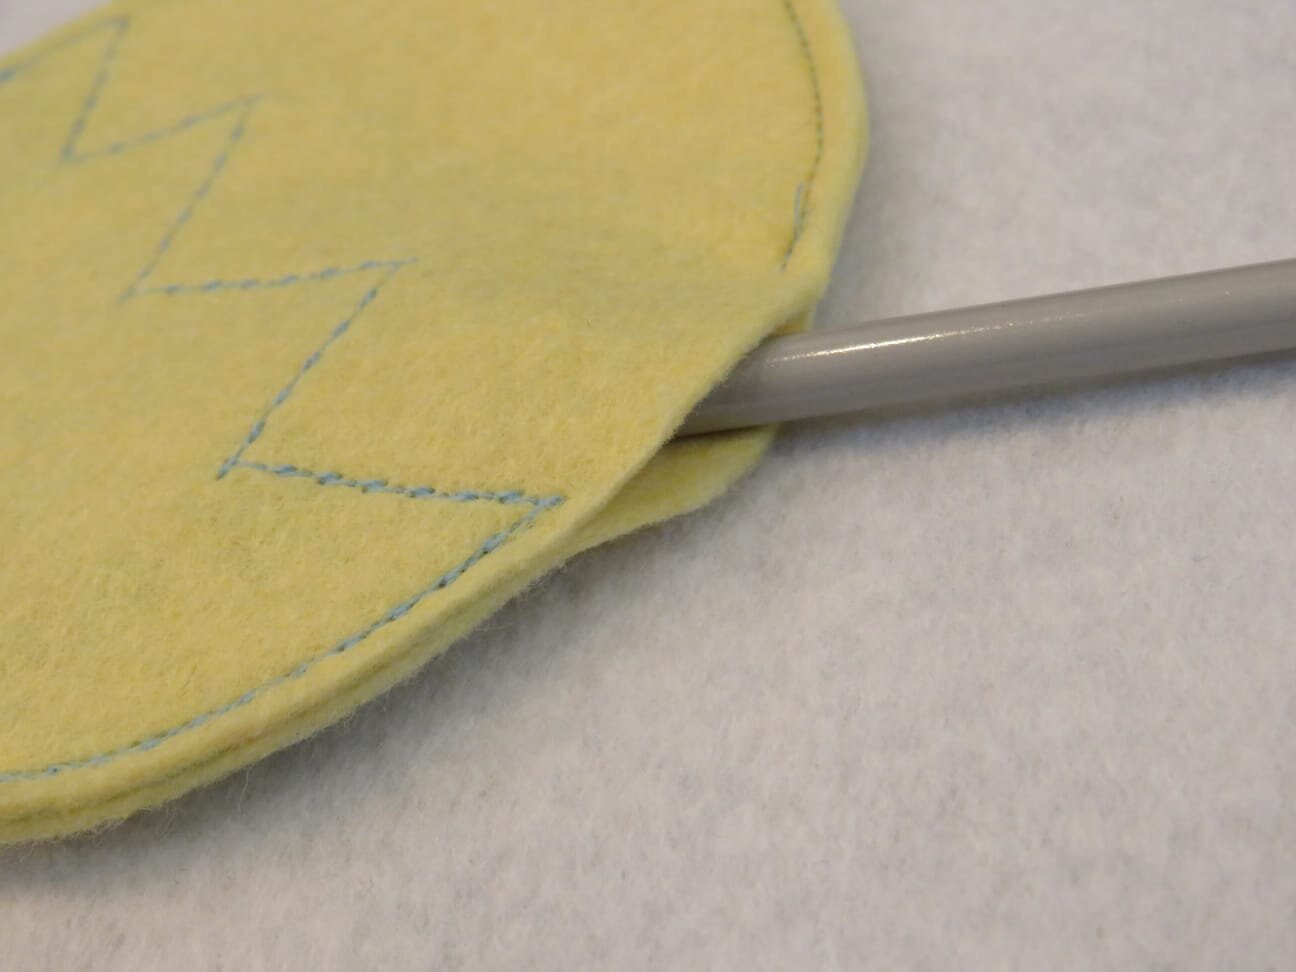
Don’t forget your turning gap… ! Turn through. (You could leave your turning gap at the top of the chick’s head if you wish, and then when you stitch that leave you a spot to insert the hanging thread. Or leave gap on side as shown here and stitch the hanging thread on, perhaps adding a decorative bow. )

Stuff with fabric or felt scraps, wadding scraps or polyester toy stuffing, and stitch up the opening using your preferred method.

Embroider the beak and eyes, and add a hanging loop! If you prefer a more rustic look, you could use twine.
If preferred, embroidered details can be added after the egg shape is cut out, before stitching the front and back pieces together. Happy Easter!