Make a Special Pillow Case
To introduce a splash of design, special interest or to add a personal touch to a bedroom, making your own cotton pillow case is a lovely, practical idea. Don’t forget you can combine fabric and trims for a unique look.

A quick-finish project for a room refresh. If purchasing fabric specifically for this project, you will need to purchase 1.25m of quilting weight 100% cotton (110/2cm wide) per pillowcase. In our example we have used one fabric to create the simplest pillowcase, but you can combine prints and add trims to match your own tastes. You could also stitch button holes and add buttons at the opening for added interest.

Step 1. Create a double hem on one short edge of each back panel and stitch in place.

Step 2. Lay your front panel with the printed side facing down. Lay your smallest back panel piece on top, with the printed side facing you, the sewn edge facing towards the centre, and raw edges aligned with the raw edges of the front panel. Take your second back panel and align in the same way, on the opposite side. Pin in place, stitch all the way around, then carefully trim leaving a narrow seam allowance, as shown.

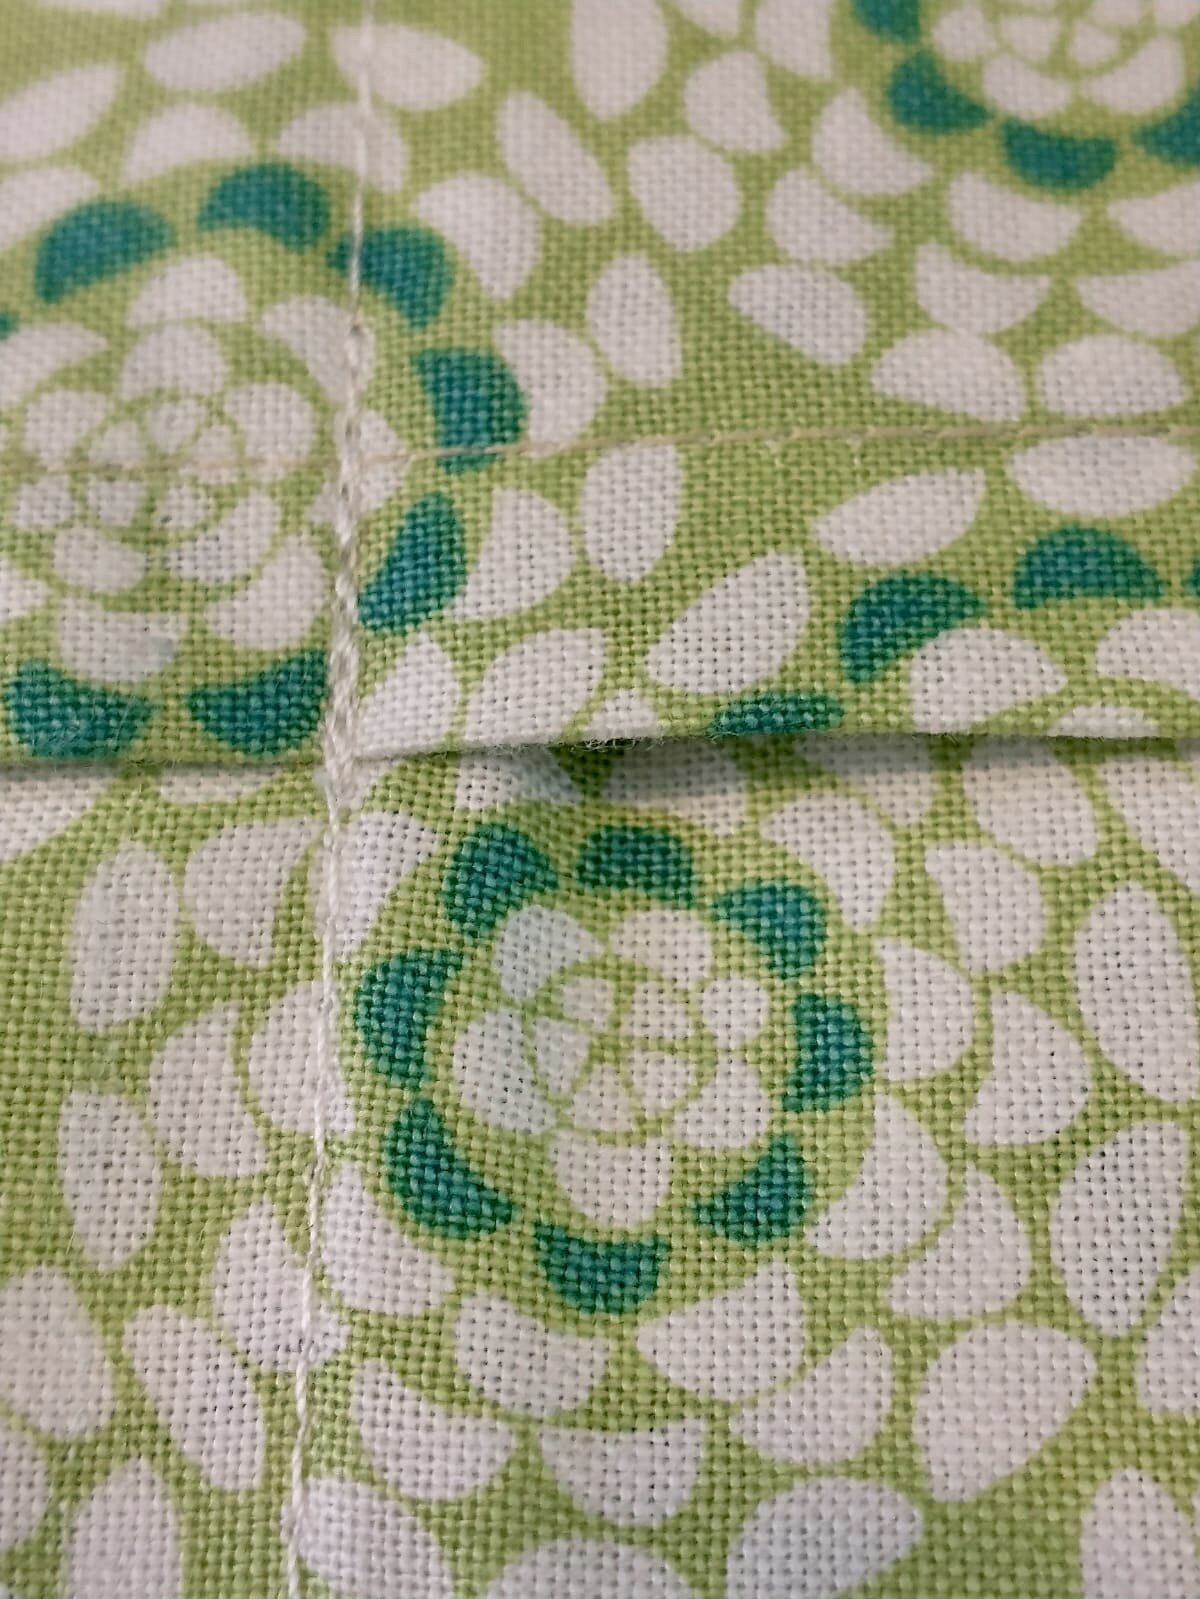
Step 3. Turn the pillowcase inside out. Poke out the corners using a knitting needle or chopstick, and press. Stitch all the way around the edge. All raw edges are now encased, and you have sewn a professionally finished, french seamed pillowcase. Turn the right way out, poke out the corners, and press.

Step 4. Mark a sewing guideline all the way around your pillowcase, 5cm from the edge. Place a pin to keep the opening flat, and sew all around, stitching on your guideline.

Step 5. Topstitch all around, as close to the edge as you dare. This will ensure your pillowcase keeps its shape over time.
Ps. Remember to reverse at the opening, to reinforce the stitches where your pillowcase will receive the most wear.